Tags are an essential feature in app.chitchatbot.ai, allowing you to segment, organize, and manage your subscribers efficiently. Whether you’re launching a marketing campaign, offering multiple products or services, or performing subscriber analysis, tags give you the power to personalize and automate interactions at scale.
This guide will walk you through how to create, manage, and use tags manually and automatically for effective audience segmentation.
Why Use Tags?
Tags help you:
- Group subscribers based on their interests, behaviors, or interactions.
- Run targeted marketing campaigns for different products or services.
- Perform more effective customer support and follow-up.
- Analyze engagement and responses across different audience segments.
Use Case Examples:
- Tag users based on their interest in a specific product.
- Tag users who completed a specific flow or action.
- Tag users to filter for follow-ups or retargeting ads.
How to Create Tags
To create a new tag:
- Go to Menu > Flows > Tags.
- Click Create New Tag.
- Name your tag and confirm.
- You can also create tags directly within your flows – you don’t need to plan and create them before hand within this section. Any tags created on the fly will be added here for you to review and manage.
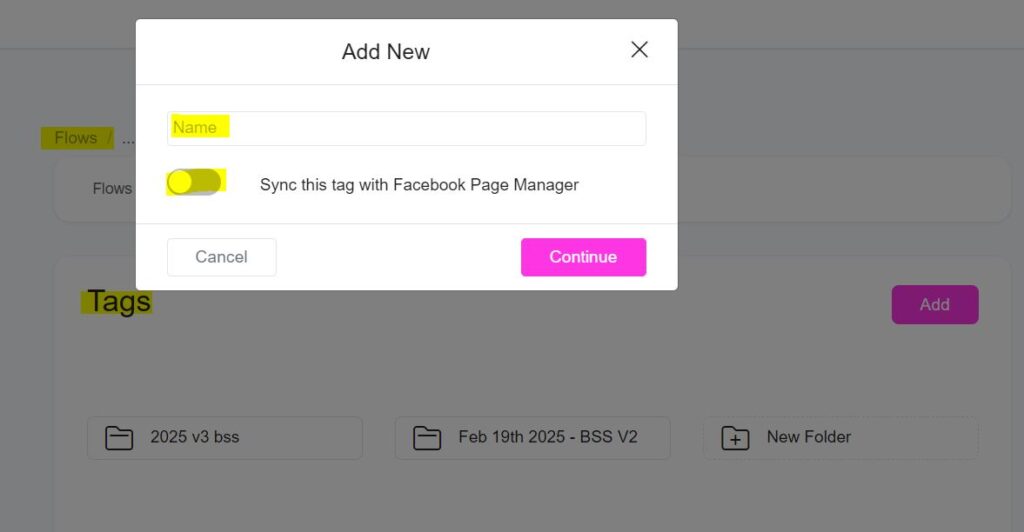
✅ Tip: Enable Sync Tags in the floating window to synchronize tags with your Facebook Page Inbox, so you can view them directly in Facebook’s Page Manager.
How to Add Tags to Subscribers
There are two main ways to tag subscribers in Chitchatbot:
1. Manually Tagging Subscribers
A. Tag an Individual Subscriber:
- Go to Contacts or Inbox.
- Click on the user’s profile.
- In the Tags section, click to add or create a new tag for that user.
B. Tag Multiple Subscribers:
- Go to Contacts.
- Select multiple users using the checkbox.
- Click Action > Add Tag.
- Choose the tag(s) you want to apply.
⚠️ Manual tagging is helpful for occasional use but not scalable for large audiences.
2. Automatically Tag Subscribers (Recommended)
Automatic tagging is the best way to segment users during interactions. It can be done directly within chat flows or automation rules.
A. Add Tags in a Chat Flow (Using the Action Block):
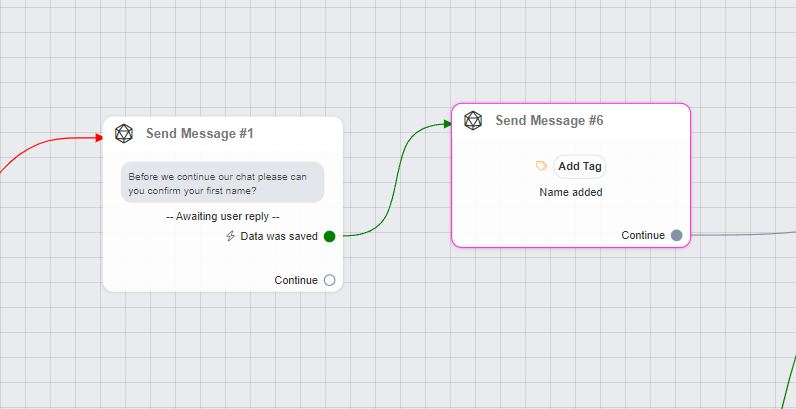
- Open the flow where you want to tag users.
- Click on “+” or double-click the canvas.
- Choose Action Block.
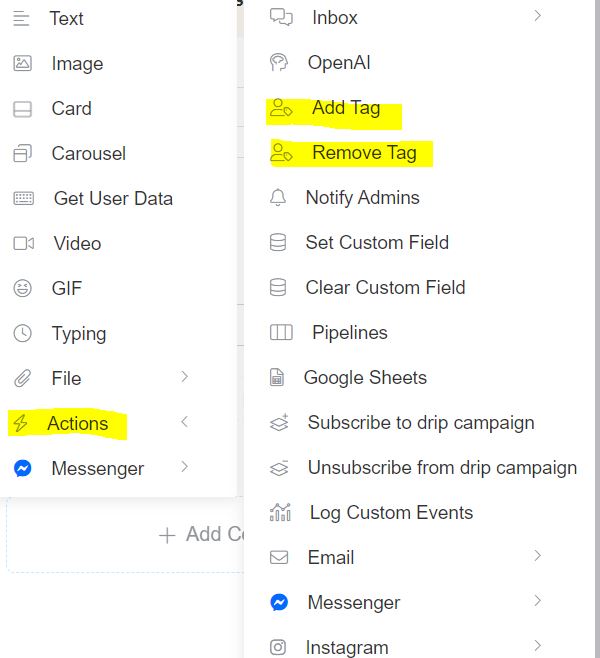
- In the action settings, click Add Content > Actions > Add Tag.
- Select the tag you want to assign.
B. Add Tags via Buttons:
Tags can be assigned when users click:
- Reply Buttons
- Quick Reply Buttons
C. Add Tags Using Triggers & Actions:
- Go to Tools > Triggers & Actions.
- Create a new trigger (e.g., based on user behavior or time).
- Add an action to Add Tag when the condition is met.
🔄 This is ideal for advanced workflows like retargeting, lead scoring, or behavioral segmentation.
Final Tips
- Use clear and descriptive tag names (e.g., “Interested_Product_A”).
- Regularly review and clean up unused or outdated tags.
- Combine tags with broadcasts or automation for powerful personalization.
By using tags effectively, you can turn a generic chatbot experience into a personalized, engaging, and high-performing communication channel. Whether you’re just getting started or scaling up, tags are a must-have tool in your Chitchatbot strategy.


