Chitchatbot comes with a default checkout page that supports Stripe, PayPal (recommended), or Razorpay for secure payments. However, you also have the option to connect your own custom checkout page to your chatbot. This means that when customers click the “Checkout” button in your chatbot, they will be redirected directly to your personalized checkout experience.
🔧 How to Set Up Your Custom Checkout Page
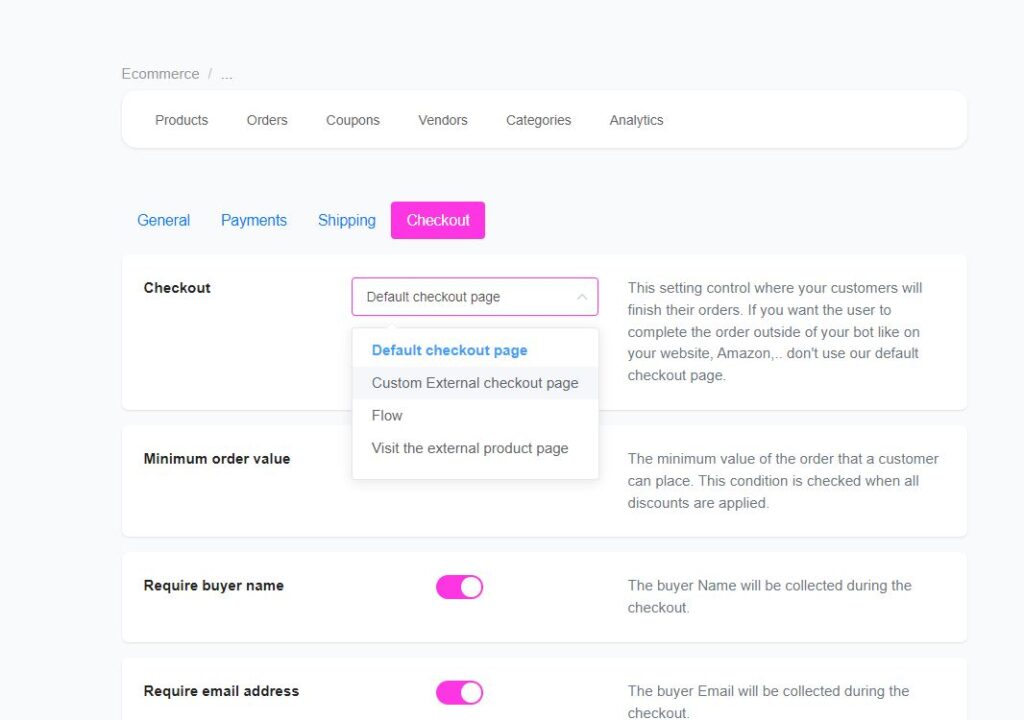
- Navigate to:
Tools → E-commerce → Settings → Checkout - Enter Your Checkout Page URL
- Example:
https://example.com - Chitchatbot will automatically send the order and user details as URL parameters when redirecting.
- Example:
📦 What Data Will Be Sent?
When a user clicks the Checkout button, Chitchatbot appends the following data to your checkout page URL:
https://example.com?order=<order_id>&page=<account_id>&user=<contact_id>&total=<total>&subtotal=<subtotal>
Here’s what each parameter means:
- order: The unique order ID. Use this to identify and confirm the order in your system.
- page: Your Chitchatbot account ID.
- user: The contact ID for the user in your chatbot.
- total: The total amount of the user’s shopping cart.
- subtotal: The subtotal of the cart, before any taxes, fees, or discounts.
💡 Marking an Order as Paid
Once the user completes payment on your custom checkout page, you’ll need to update the order status in Chitchatbot to “Paid”.
To do this, use Chitchatbot’s API:


