Webchat allows you to add a chatbot to your website without relying on platforms like Facebook, Telegram, WhatsApp, or Instagram. Your customers don’t need an account to chat with your bot!
Adding the Webchat Code to Your Website
- Go to:
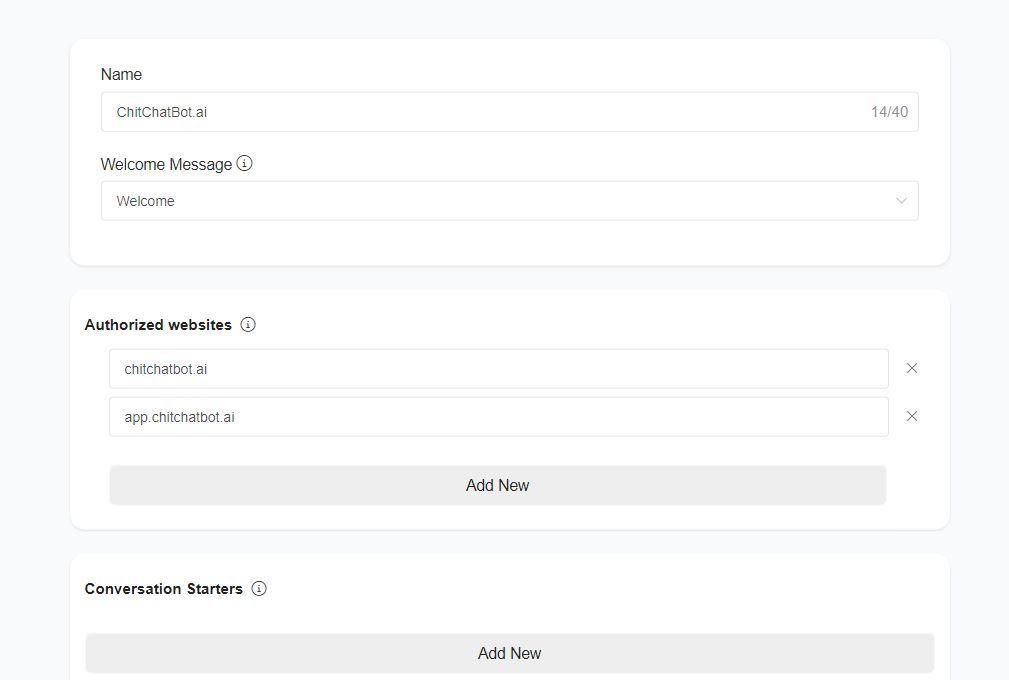
Settings > Channels > Webchat > Manage
and create your webchat. - Add your website domain or subdomain to the Authorized Websites list.
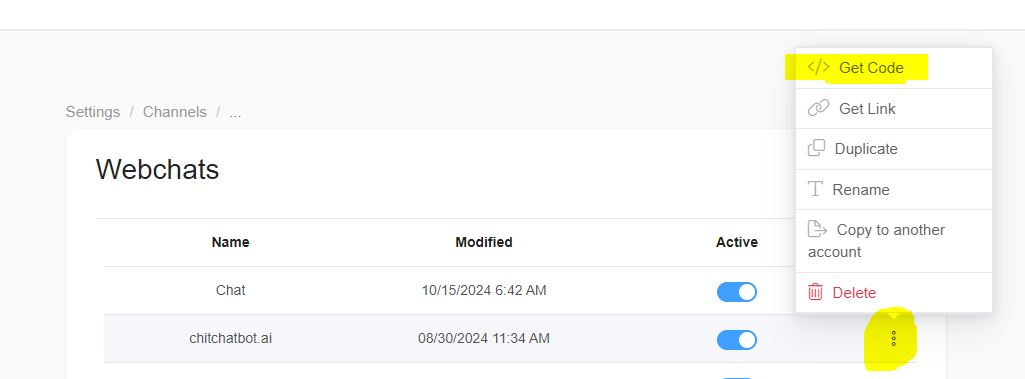
This ensures the webchat only loads on your authorized sites. - After creating your webchat, click the three vertical dots in the webchat list to get the code snippet.
- Add the webchat code snippet just before the closing
</body>tag in your website’s HTML.
You can also use tools like Google Tag Manager to add this snippet and set display/exclusion conditions.
Using Webchat as a Single Page
- Click the three vertical dots and select “Get Link”.
- This will generate a standalone page link for your webchat.
Webchat Plugin Customization Options
Here’s a summary of available options for customizing the webchat:
| Option Name | Possible Values/Description | Default |
|---|---|---|
type | floating / window / containercontainer: embed in any HTML elementwindow: opens in new windowfloating: typical floating chat icon | floating |
element | Only for container type. Example: #div1 | |
headerTitle | Title displayed in the chat header | Account Name |
color | Any color name or hex code (e.g., #007BFF) | #007BFF |
hideHeader | Hide the section containing the business name (true/false) | false |
ref | A ref/flow/step ID sent automatically when a user clicks the chat icon. Example: set to get_started_button to trigger the Welcome flow. | |
showPersona | Show/hide persona (true/false) | false |
hideComposer | Show/hide message composer (true/false) | false |
template | Choose template: template1 / template2 | |
icon | The chat icon shown on the bottom right | |
right | Distance of the icon from the right edge of the screen (e.g., 20px) | 20px |
bottom | Distance of the icon from the bottom edge of the screen (e.g., 20px) | 20px |
loadMessages | Load past conversations when webchat is opened (true/false) | true |
setCustomFields | Set multiple custom fields:json<br>[{id: "email", value: "…@chitchatbot.ai"}, {id: 348574, value: "Value here"}]<br> |
Webchat Templates
ChitChatbot.ai provides three off-the-shelf webchat templates.
Try them out to see which one fits best!
Handover Conversations from Other Channels
You can transfer conversations from other channels (e.g., SMS) to your webchat for a richer experience.
To trigger the webchat link, send the system custom field:
{{webchat}}
Automatically Start a Flow on Webchat Access
To trigger a specific flow when a user opens the webchat link, append &ref=FLOW_OR_STEP_ID:
{{webchat}}&ref=111111
✅ Load previous messages: default behavior
✅ To disable previous messages, append &lc=0:
{{webchat}}&ref=111111&lc=0
Create a Custom HTML Webchat Widget
Want to fully customize the chat widget?
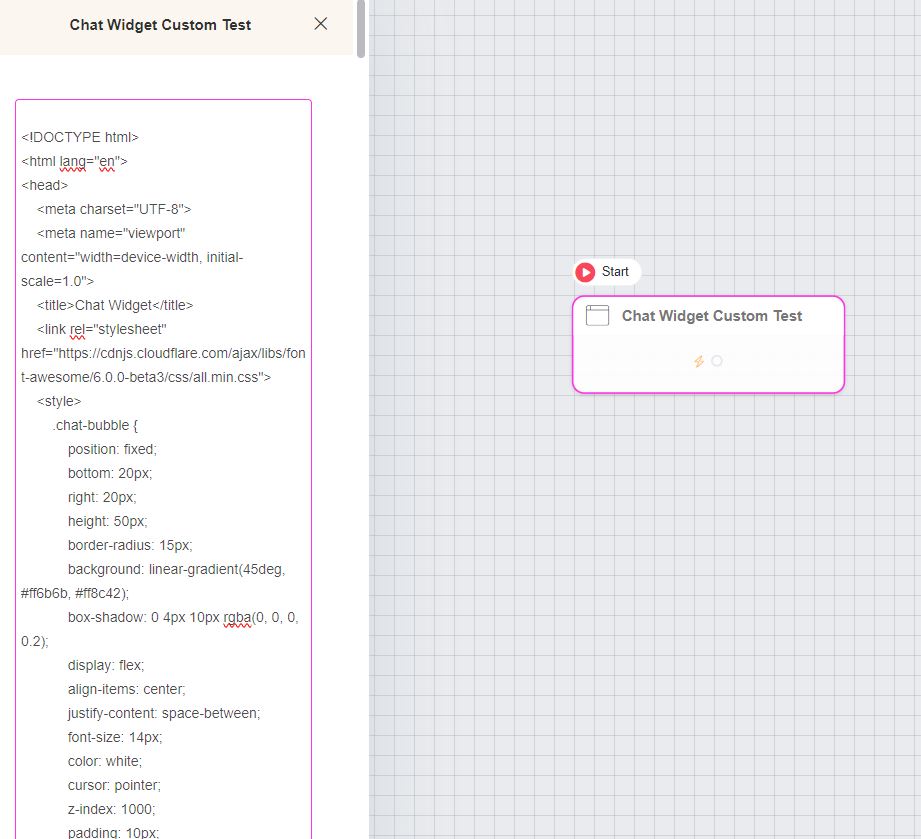
In the flow builder, click “+” and select Landing Page to preview your custom widget design.
You can add custom styling, animations, or even sound effects!
Below is an example of a basic HTML widget:
<!DOCTYPE html>
<html lang="en">
<head>
<meta charset="UTF-8" />
<meta name="viewport" content="width=device-width, initial-scale=1.0" />
<title>Chat Widget</title>
<link rel="stylesheet" href="https://cdnjs.cloudflare.com/ajax/libs/font-awesome/6.0.0-beta3/css/all.min.css" />
<style>
  /* Enter your chat widget styles here */
</style>
</head>
<body>
  <!-- Chat window content (e.g., pop-up text, icon) -->
  <iframe
    src="https://app.chitchatbot.ai/webchat/?p=accountid&ref=ref_flowid--payload&hideHeader=true&showPersona=false&headerTitle=Chat%20Now&loadMessages=false"
    style="width: 100%; height: 500px; border: none;">
  </iframe>
</body>
</html>
In the iframe link, set the ref to the first flow/step you want to display (like a Welcome flow).


